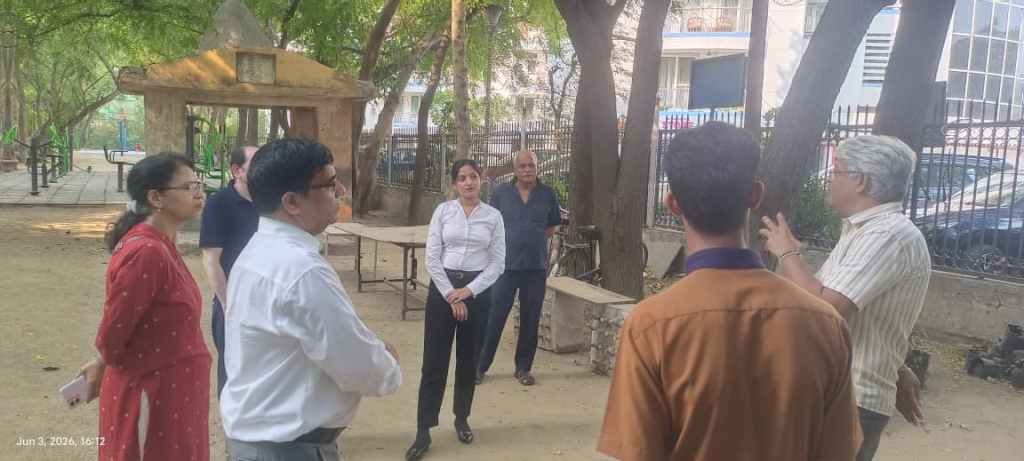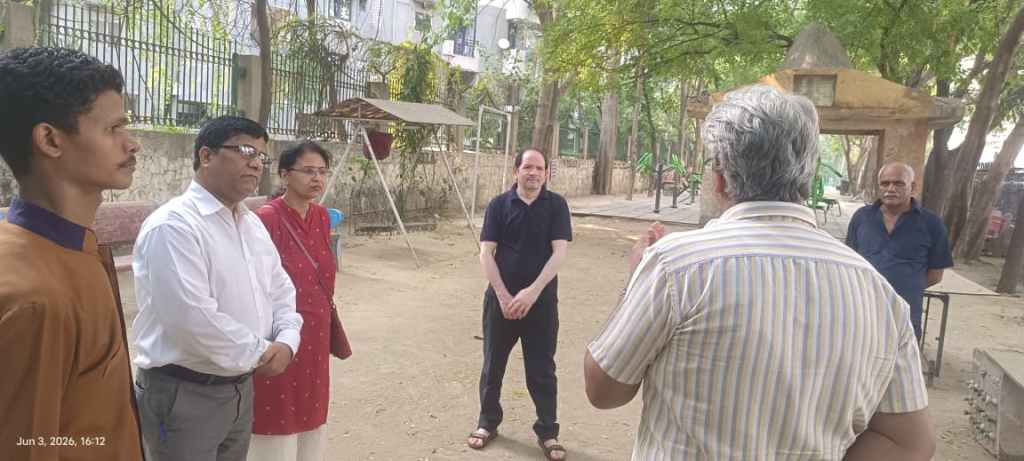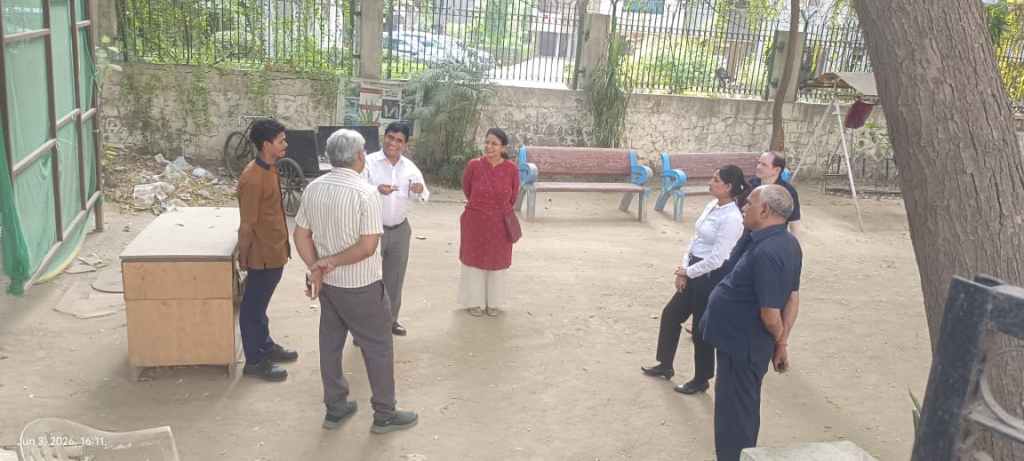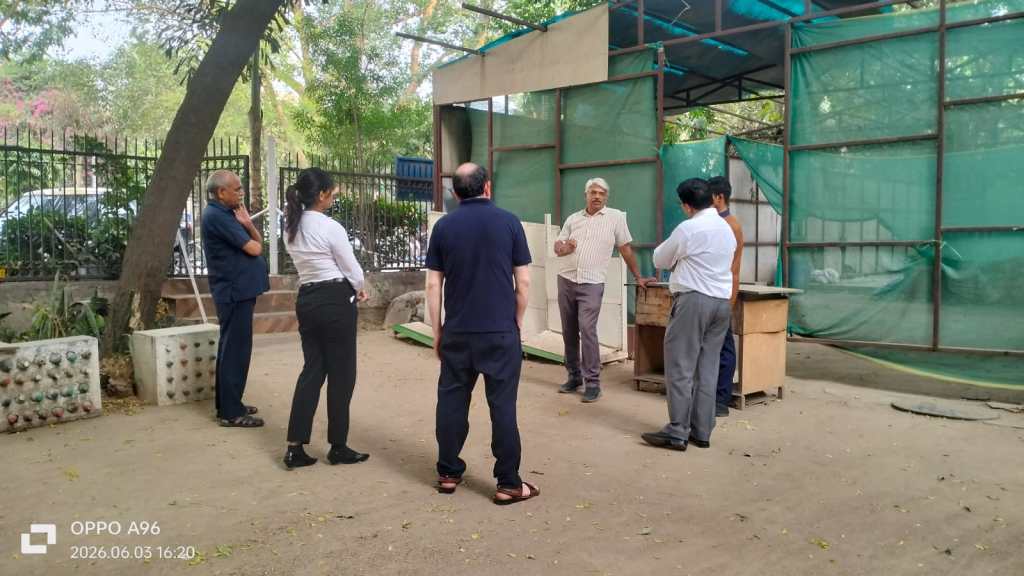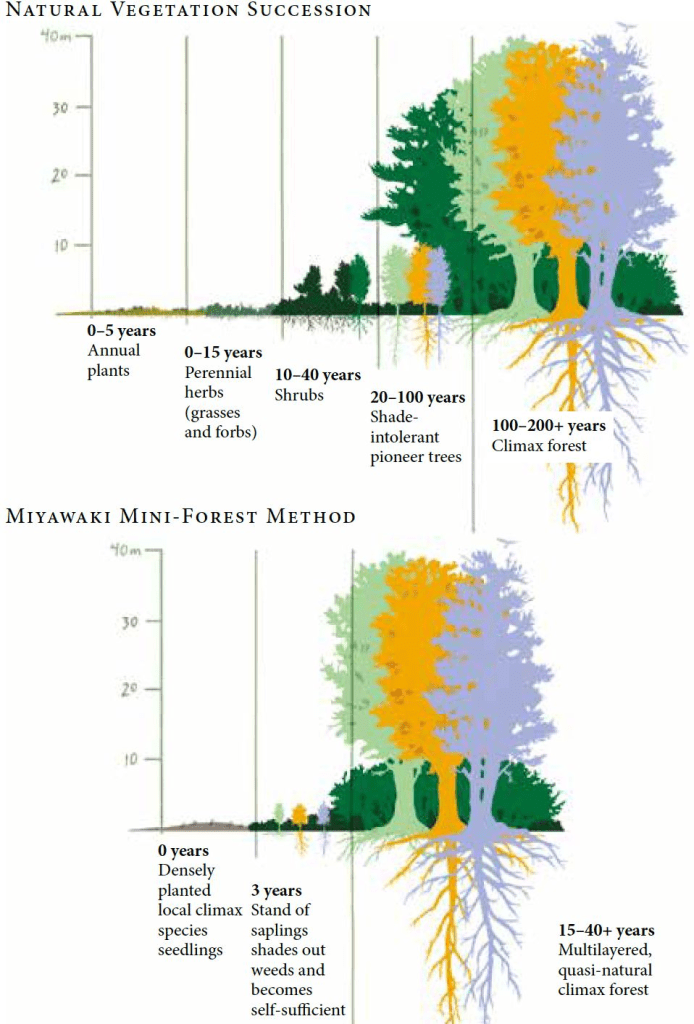
Understanding the Difference Between Rapid Urban Forests and Natural Climax Forests
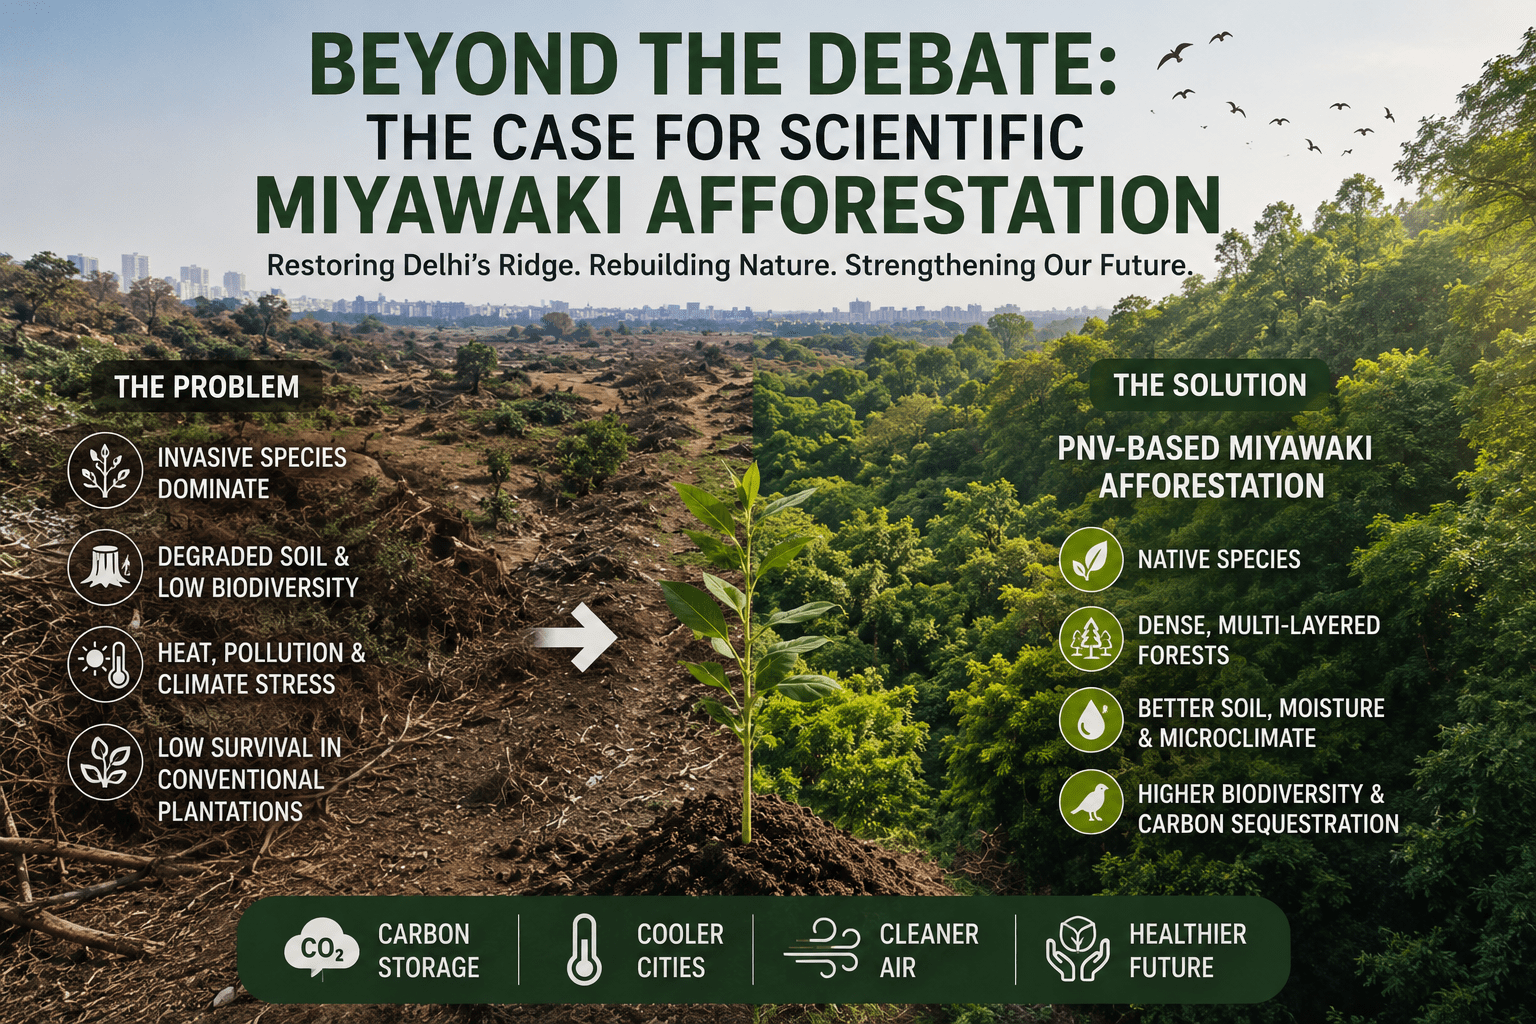
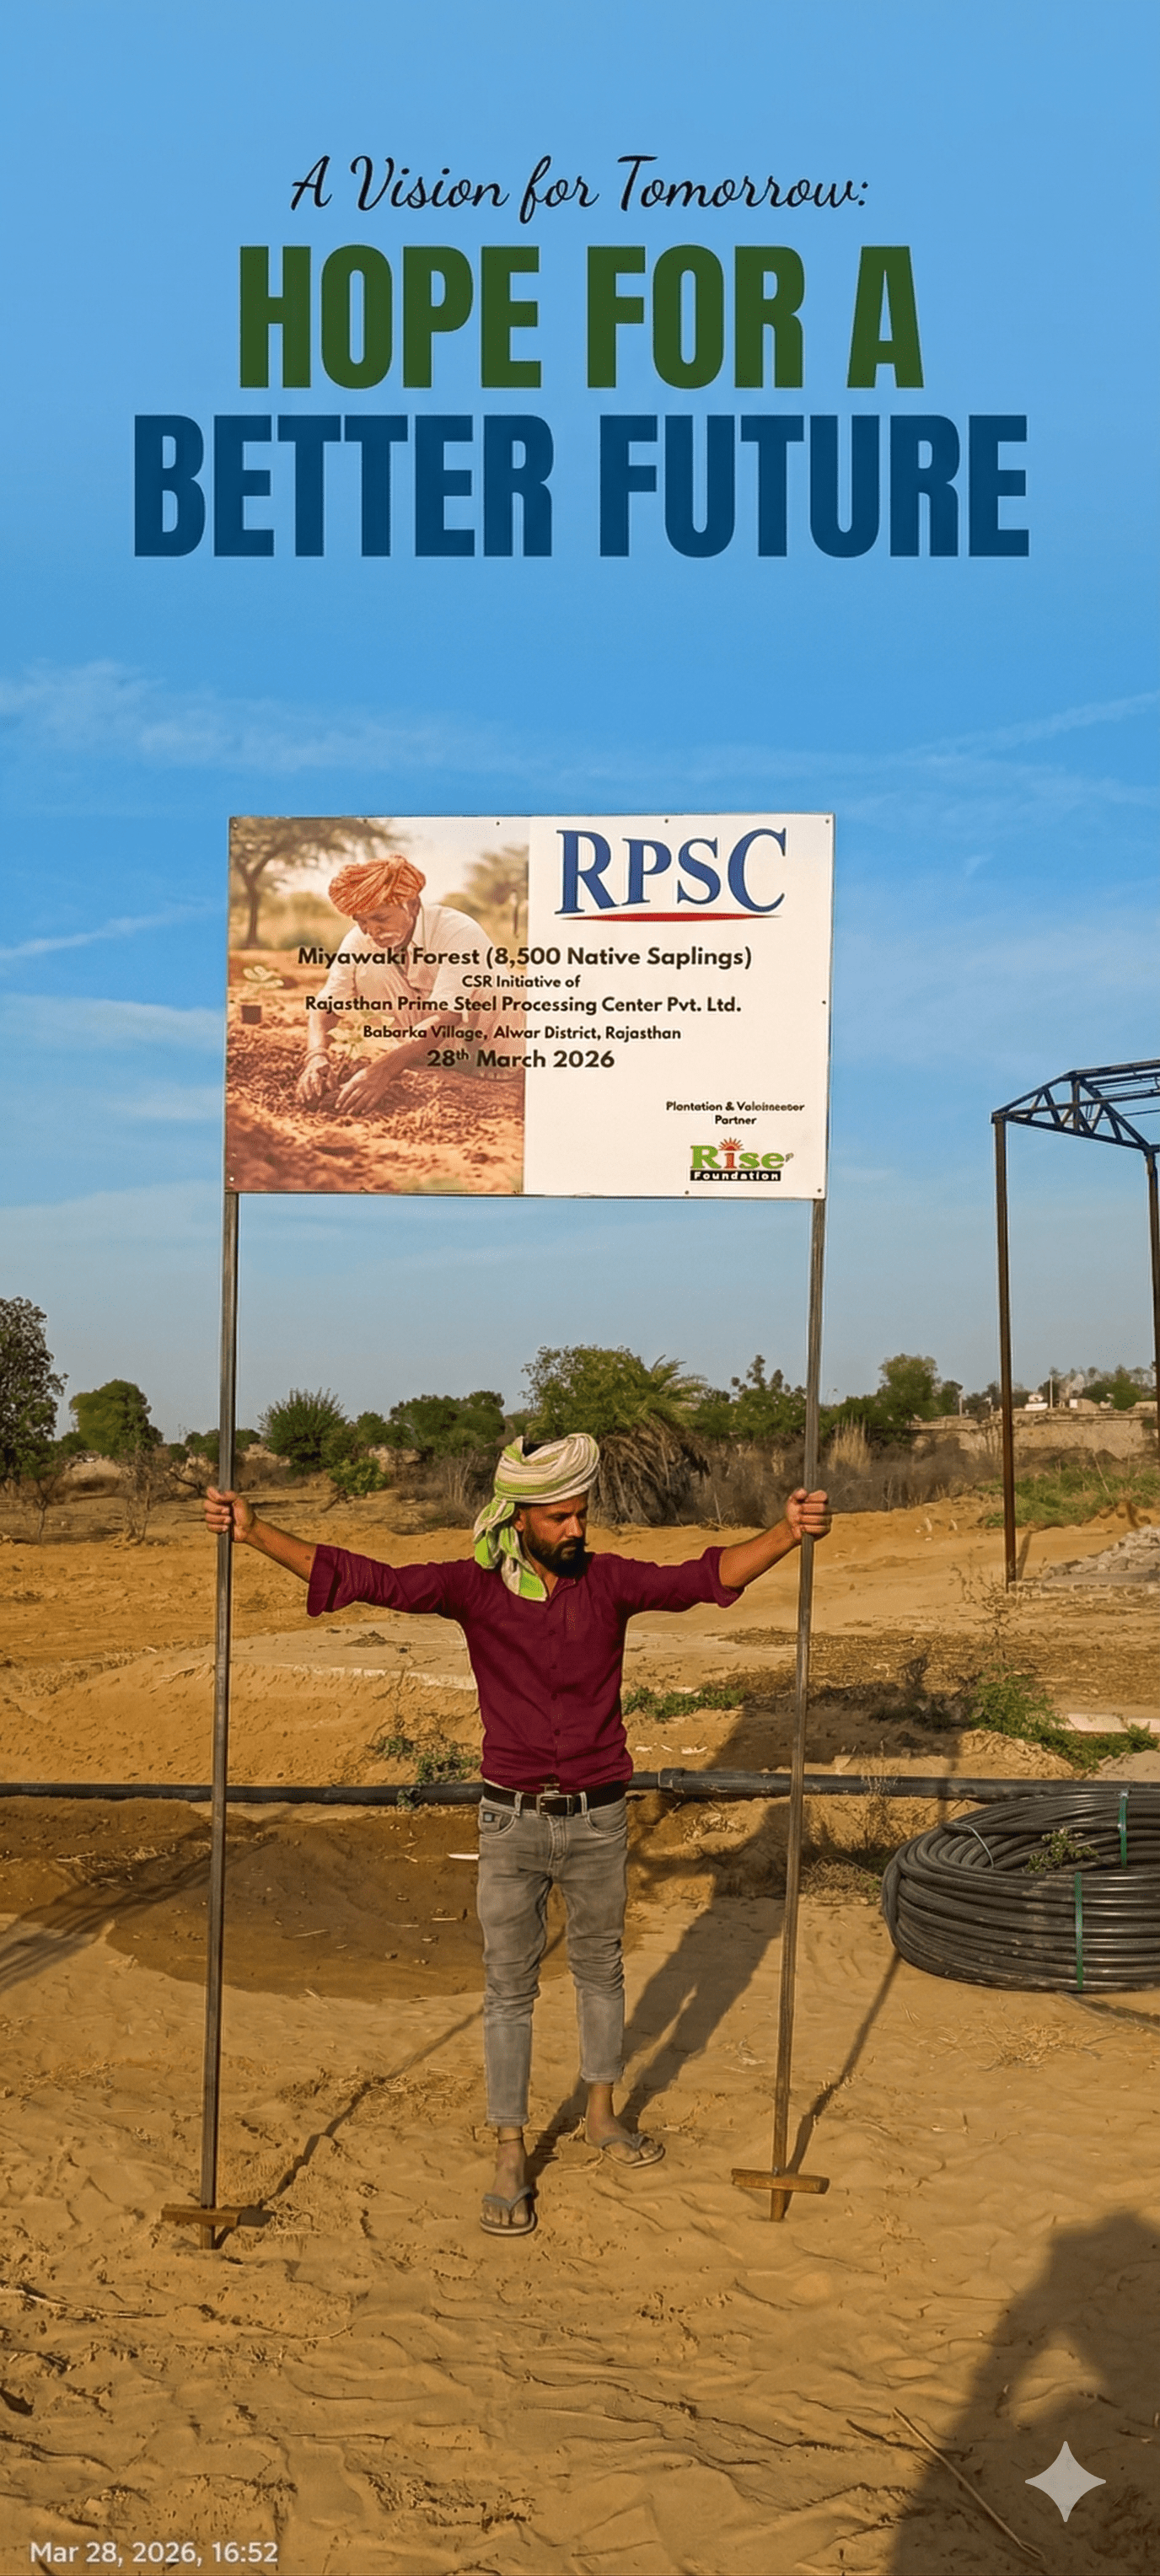
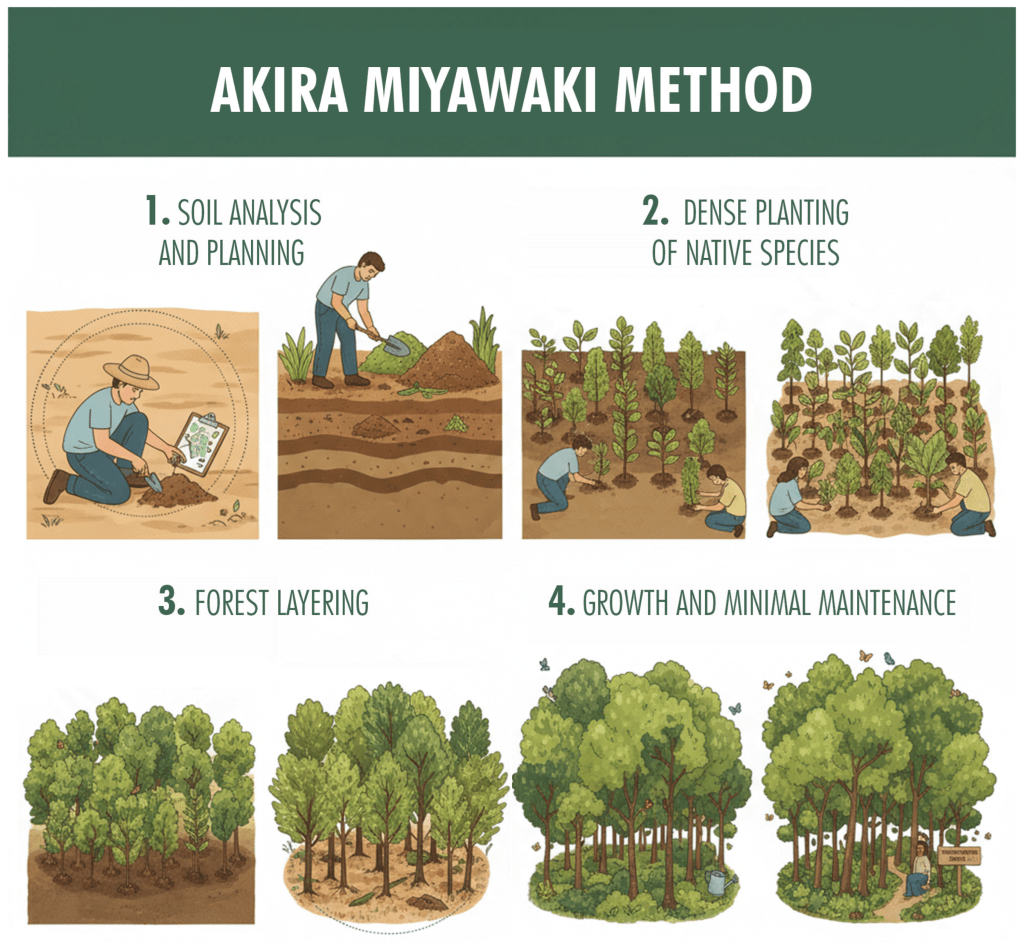
The Miyawaki afforestation technique has gained global recognition for transforming barren urban lands into dense green forests within a few years. From schools and corporate campuses to degraded urban landscapes, Miyawaki forests are helping cities combat climate change, improve biodiversity, and restore ecological functions.
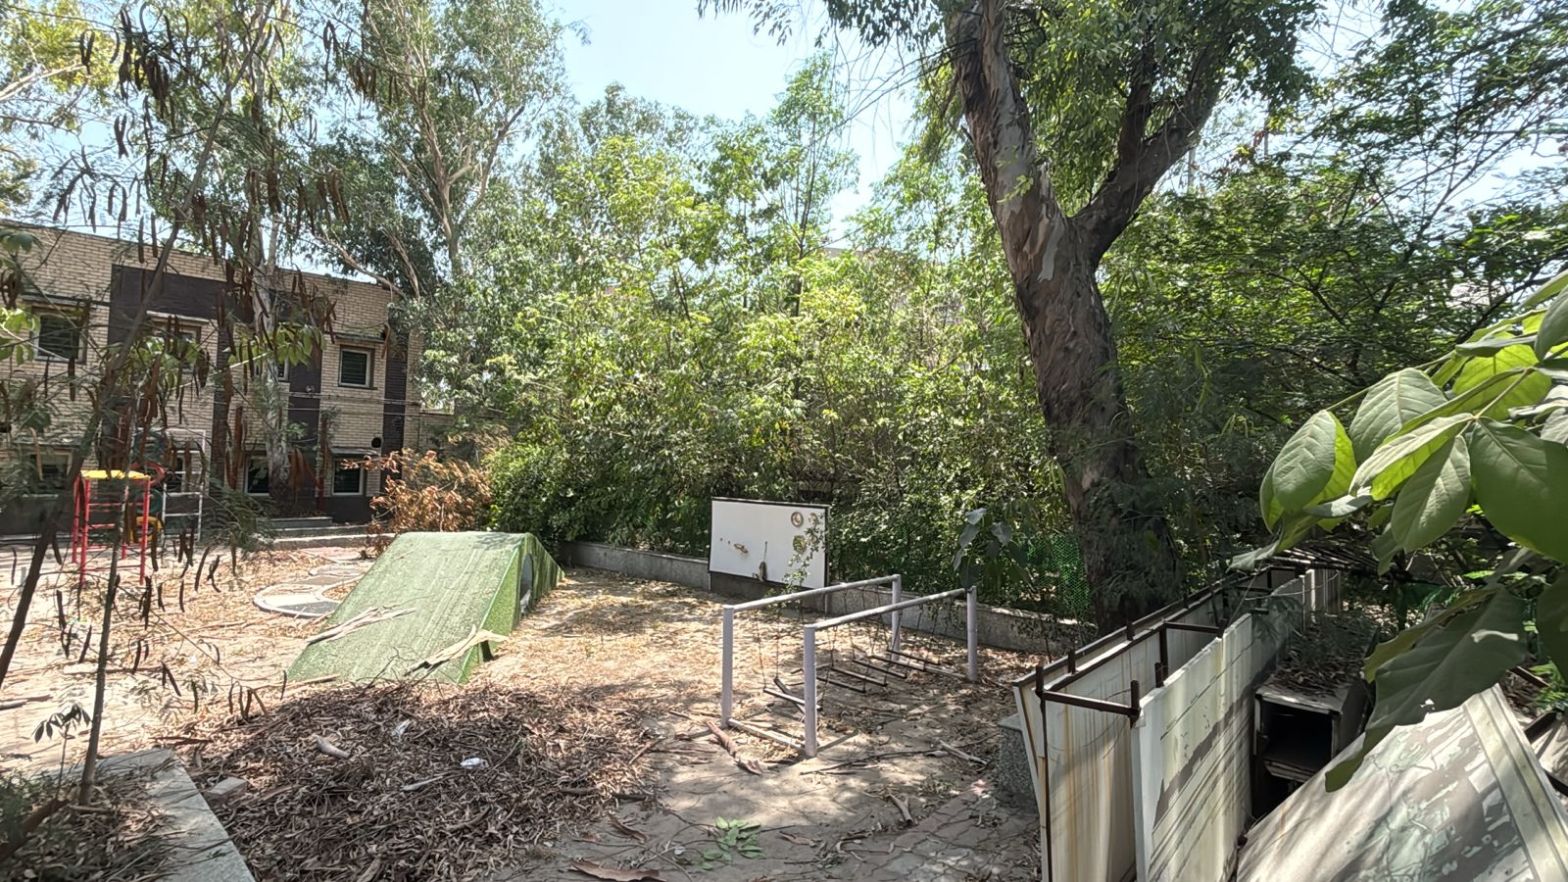
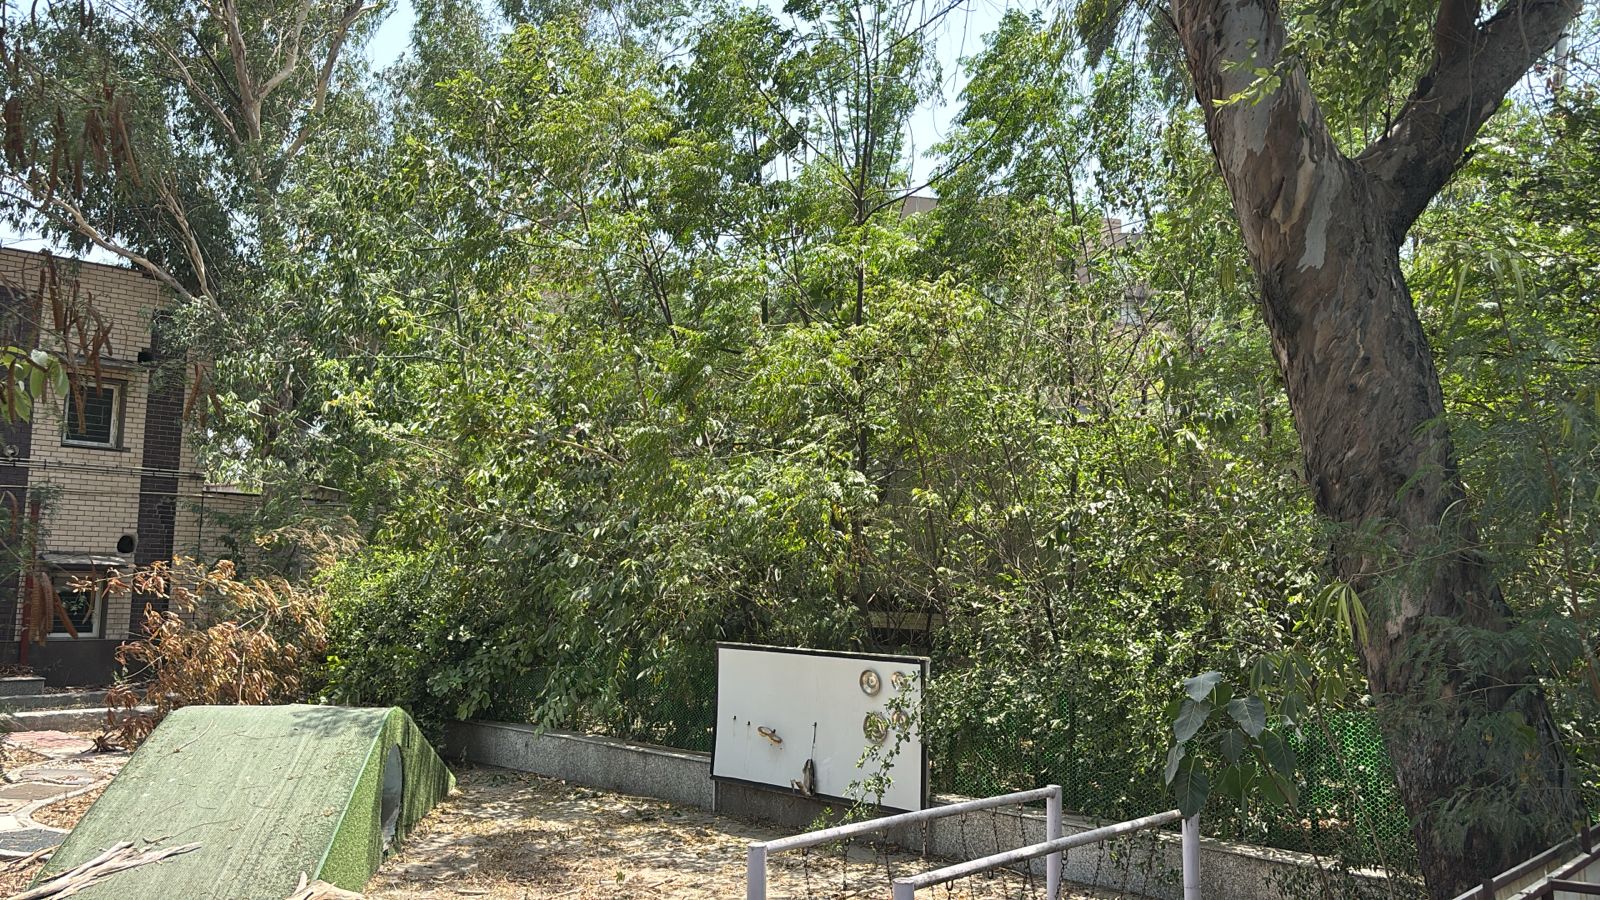
However, one criticism often raised is that the trees are planted so densely that their crowns begin to overlap and “clash” as they grow. Some critics argue that this is unnatural and question whether Miyawaki forests can truly resemble mature natural forests.
Is Crown Clashing a Problem?
The short answer is no.
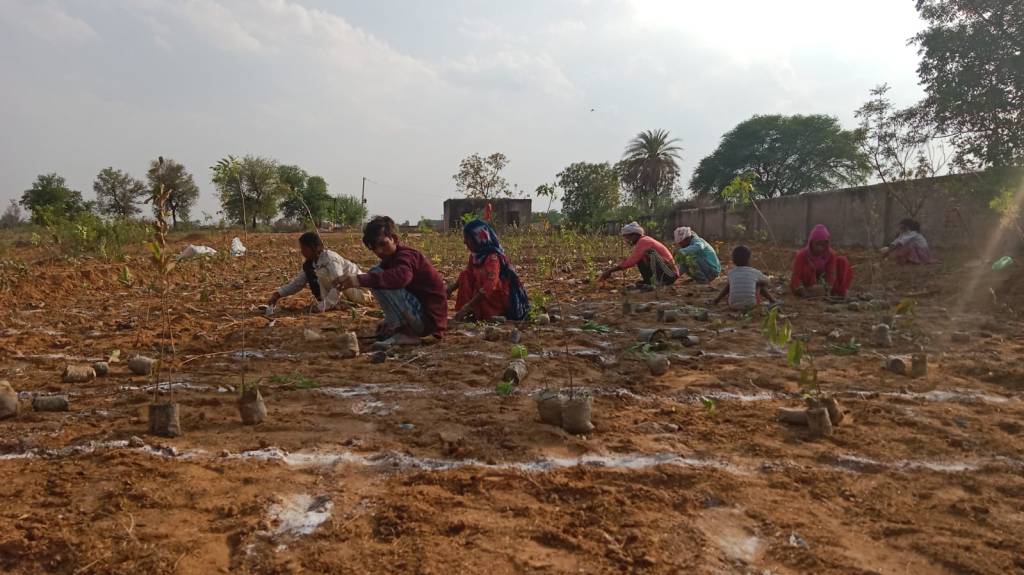
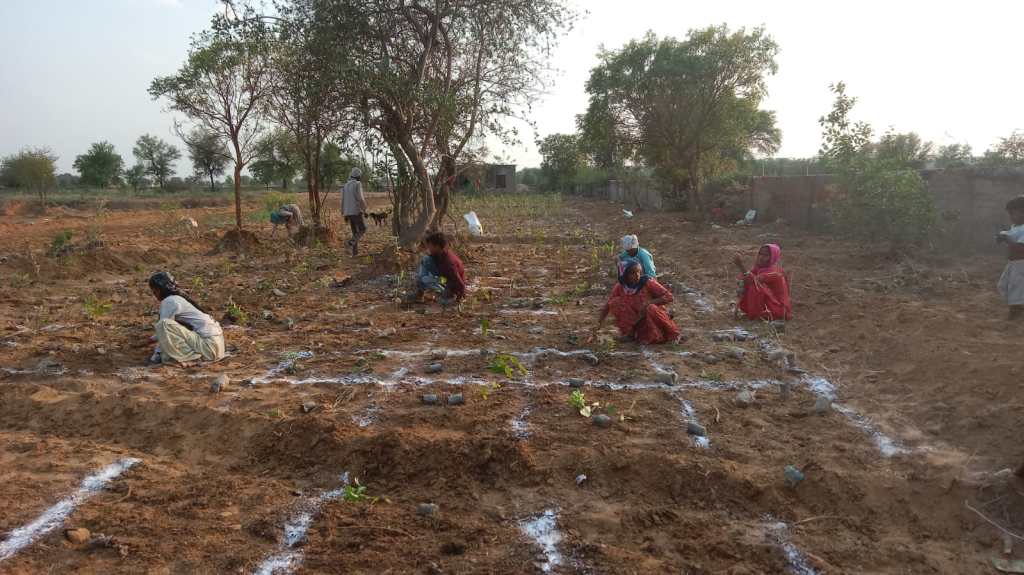
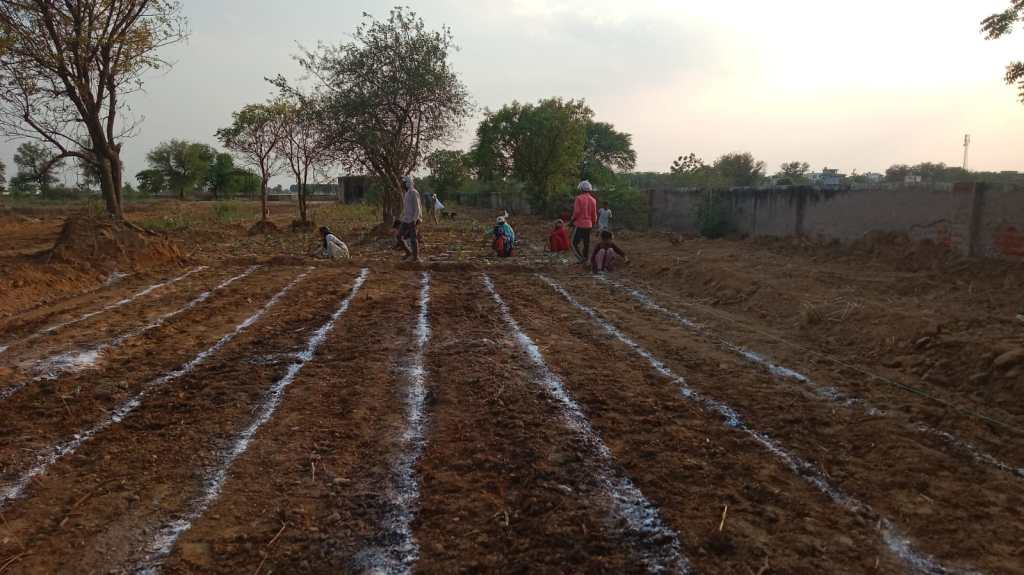
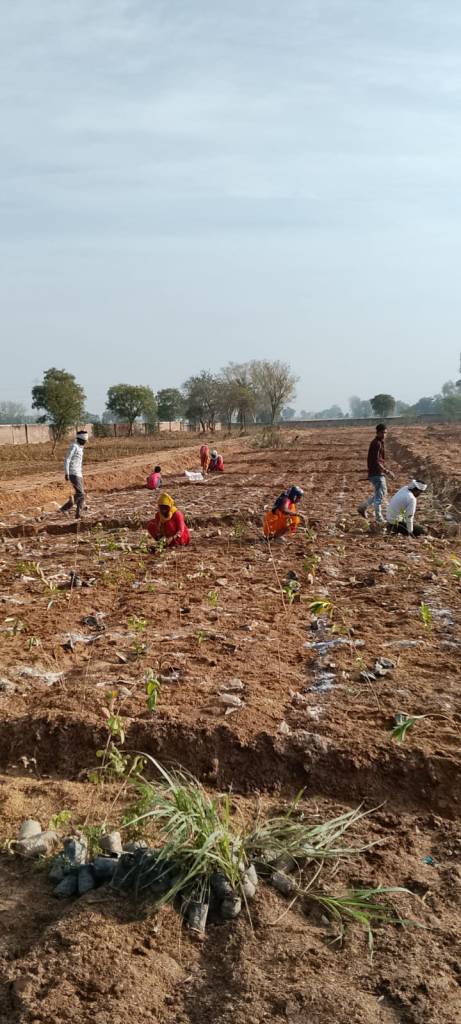
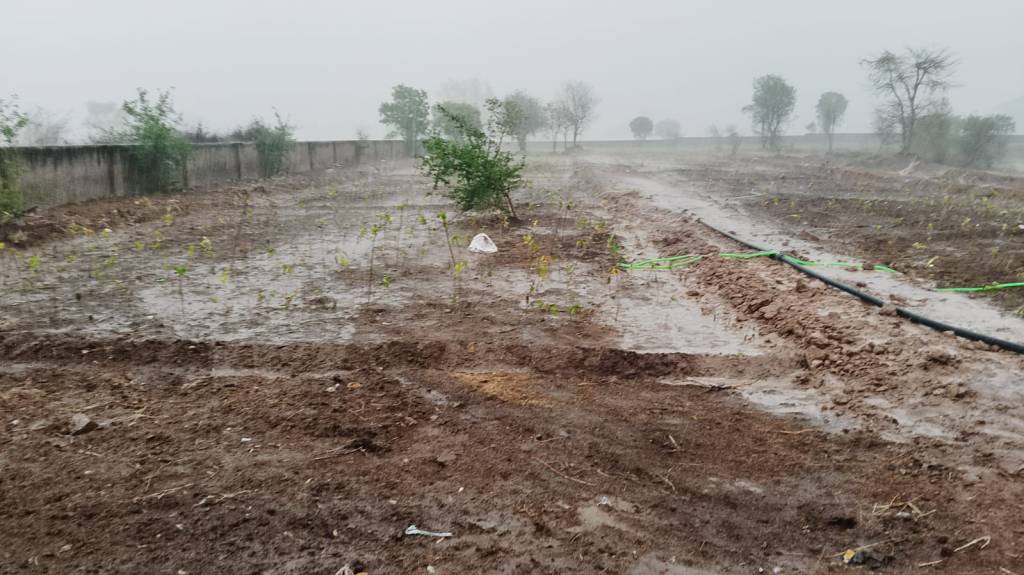
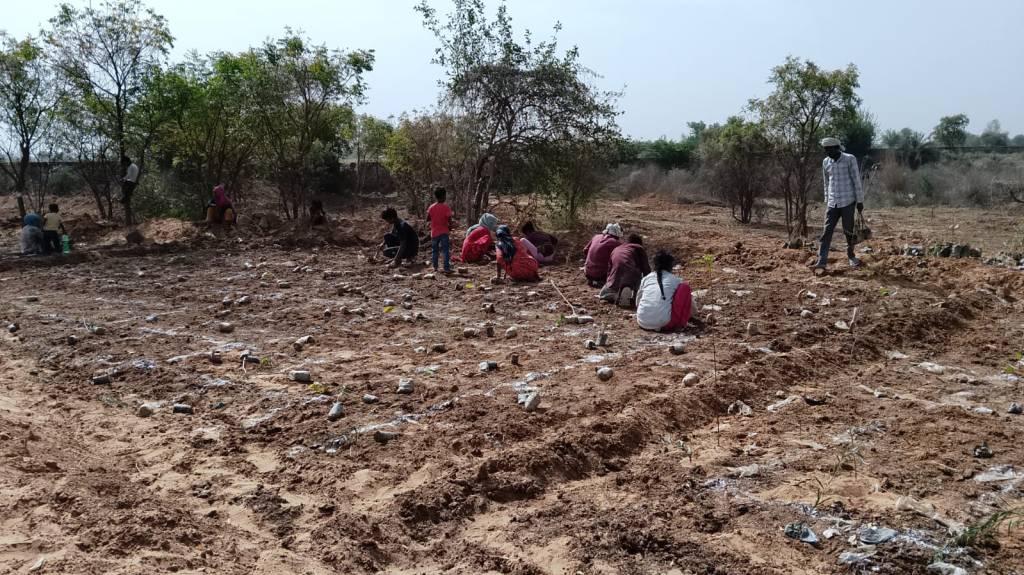
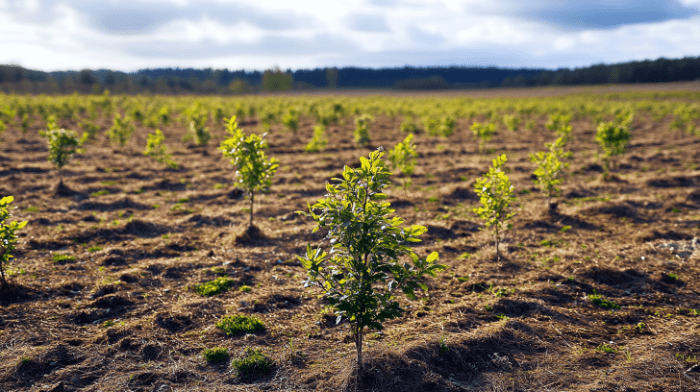
In a Miyawaki forest, 3–5 native saplings are typically planted per square meter. This dense planting encourages rapid vertical growth as trees compete for sunlight. As the canopy develops, crowns naturally overlap and interact with each other.
This phenomenon is not unique to Miyawaki forests. In fact, competition for light, water, and nutrients occurs in all natural forests. Ecologists refer to this process as self-thinning, where weaker trees gradually decline while stronger trees continue to grow and dominate.
Therefore, crown clashing should be viewed as a natural stage of forest development rather than a sign of failure.
Does a Miyawaki Forest Resemble a Climax Forest?
Not entirely.
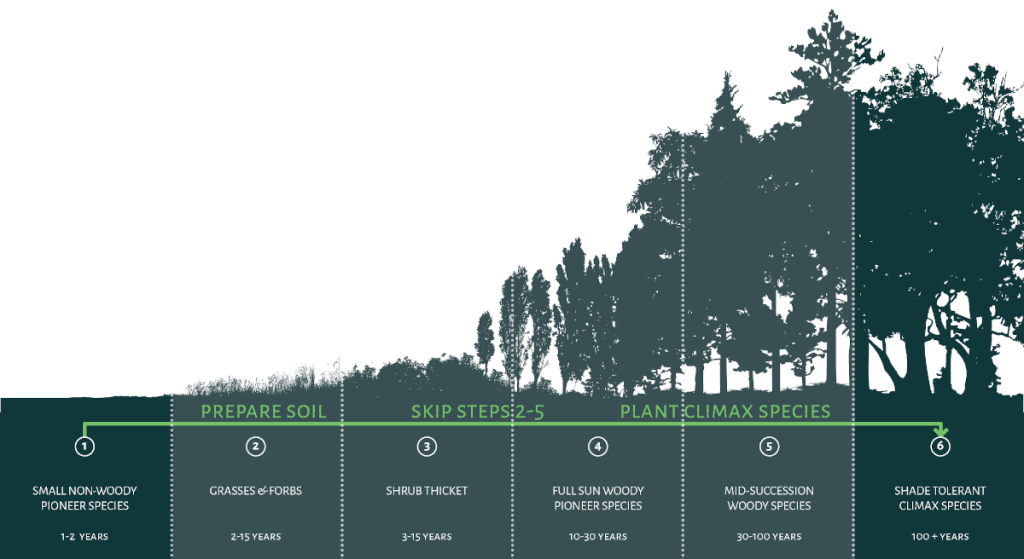
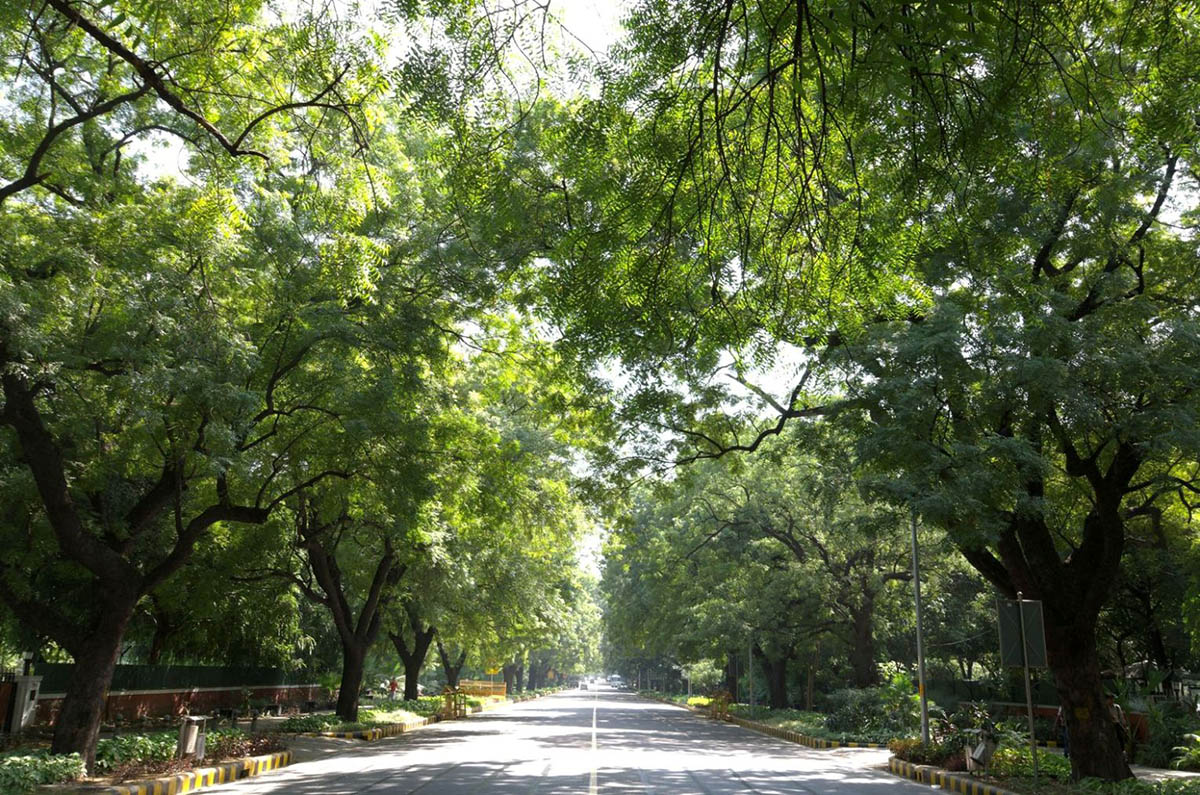
A mature or climax forest develops over many decades or even centuries and possesses complex ecological characteristics such as:
- Multiple canopy layers
- Natural gaps and uneven spacing
- Trees of different ages
- Deadwood and decomposing organic matter
- Complex relationships among plants, fungi, insects, birds, and mammals
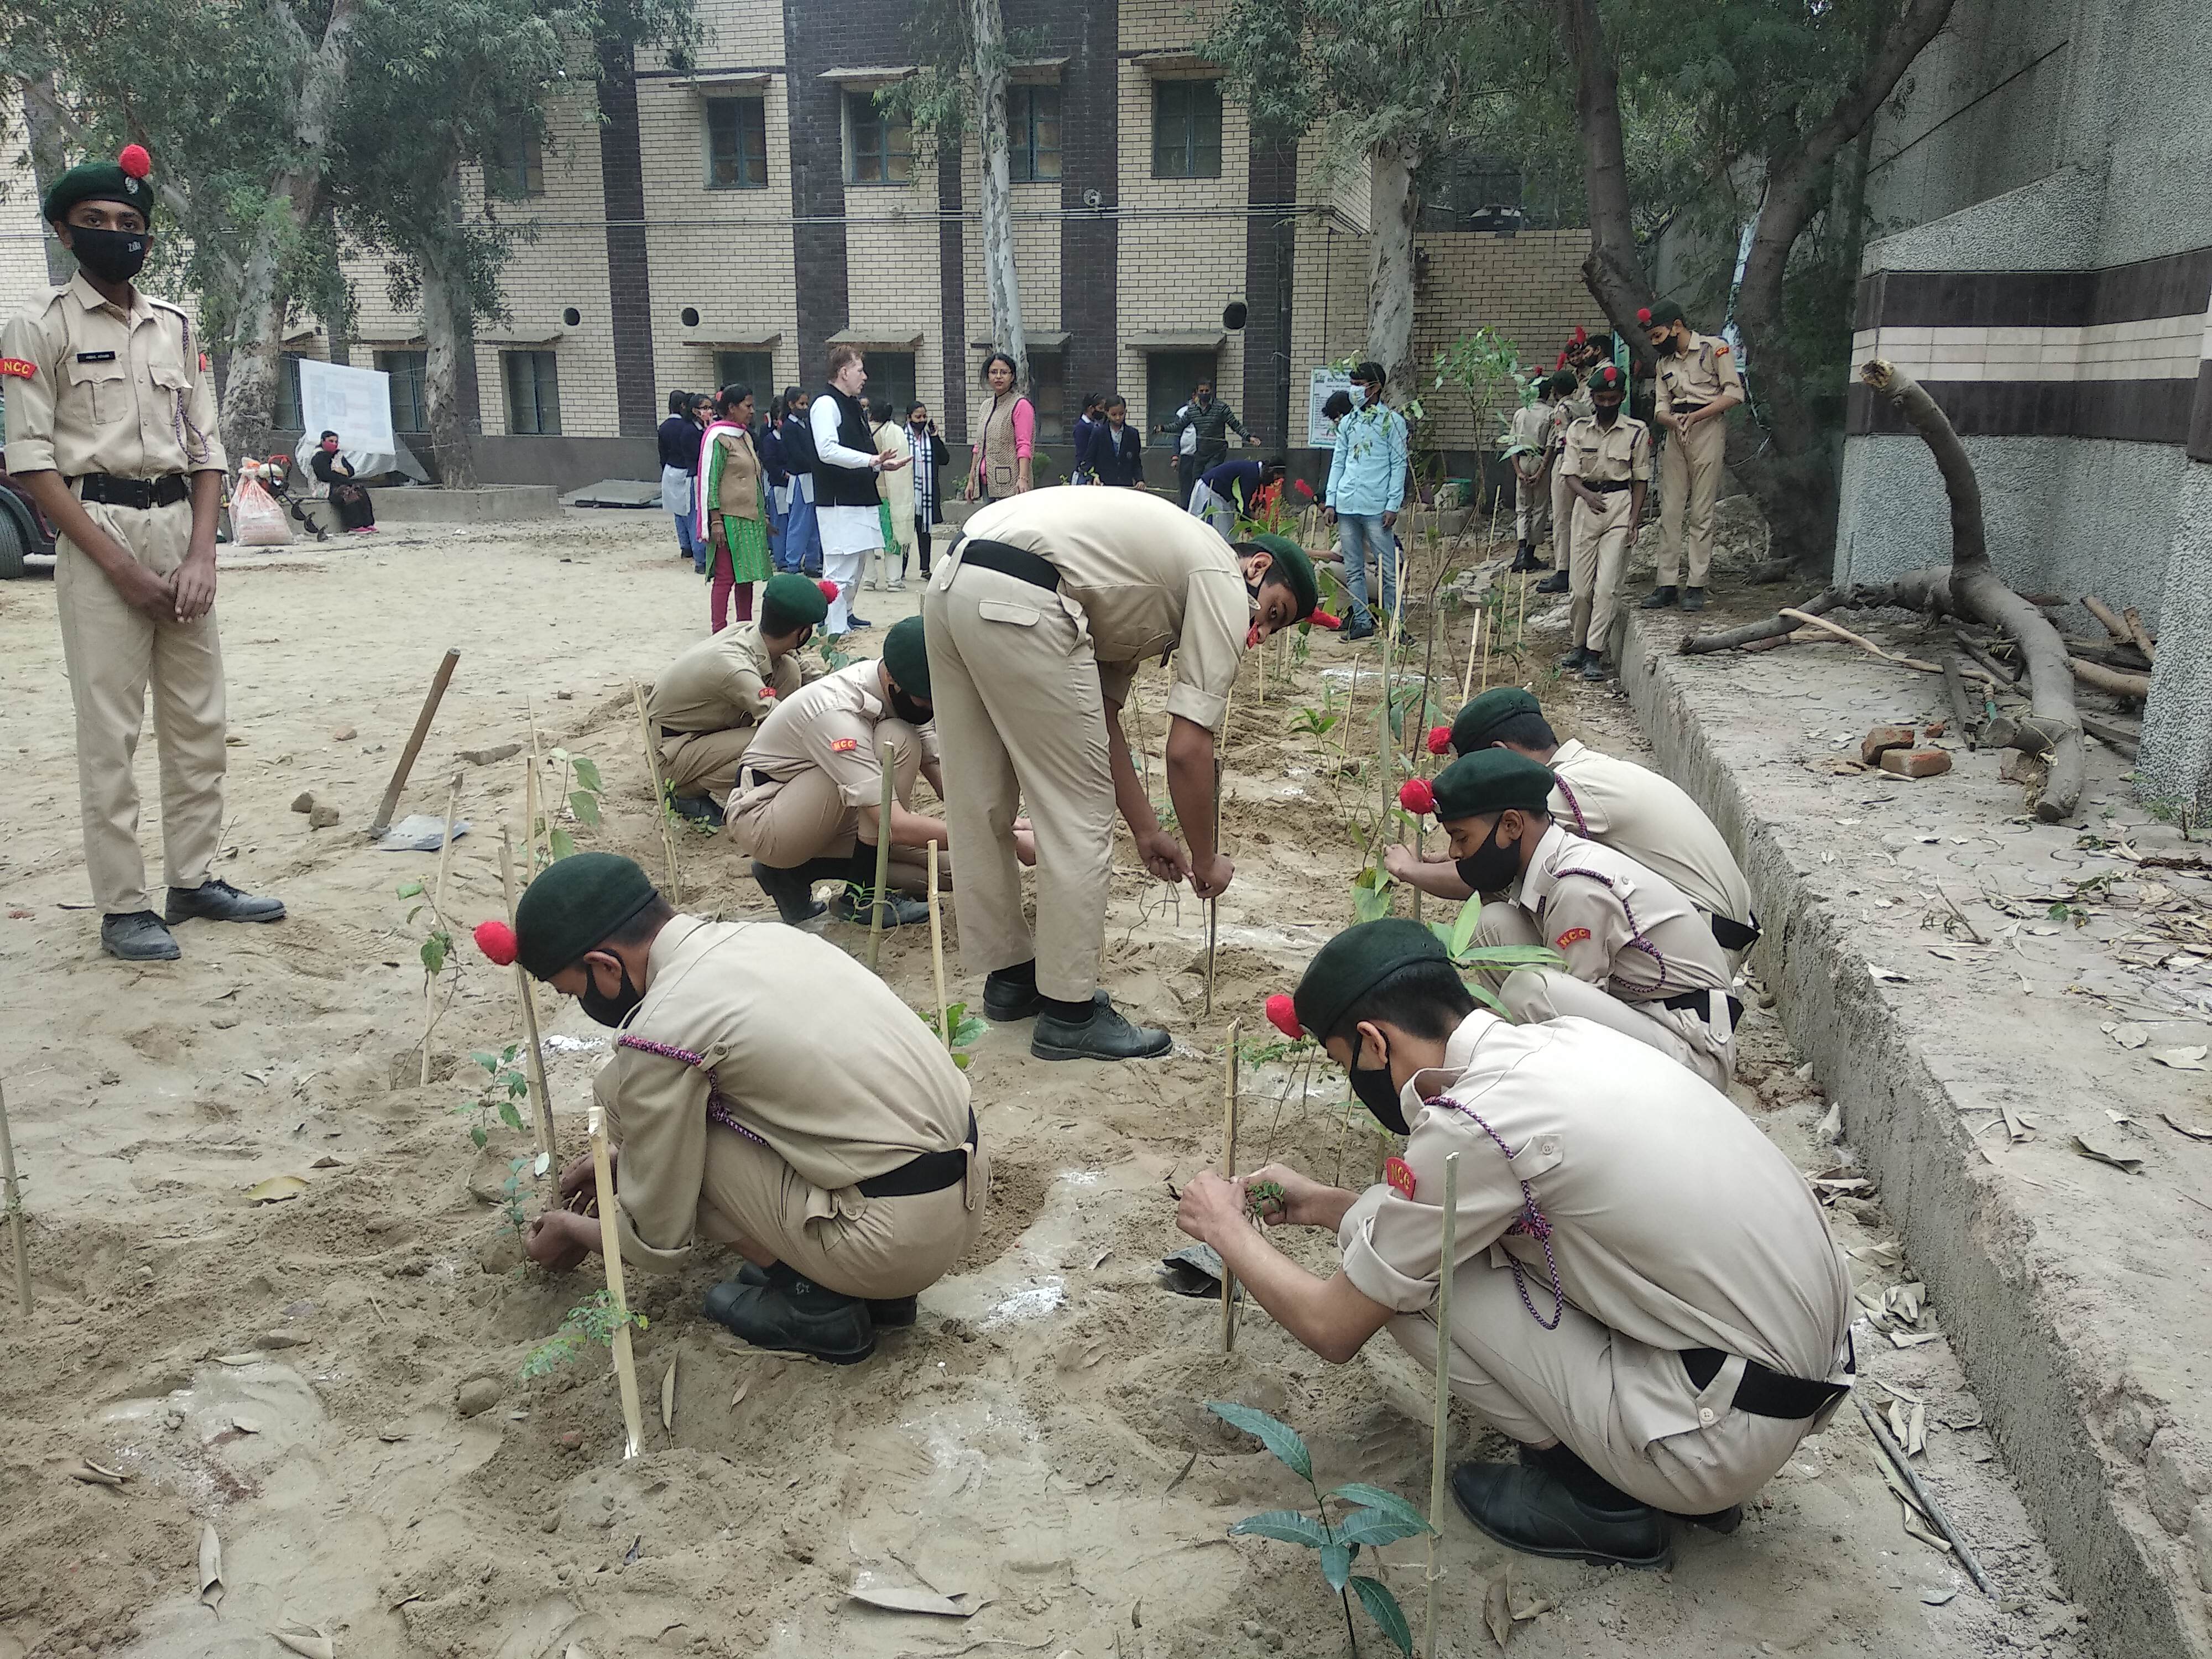
Miyawaki forests are designed primarily to accelerate the early stages of ecological succession. They rapidly establish canopy cover and biodiversity but cannot instantly recreate centuries of ecological evolution.
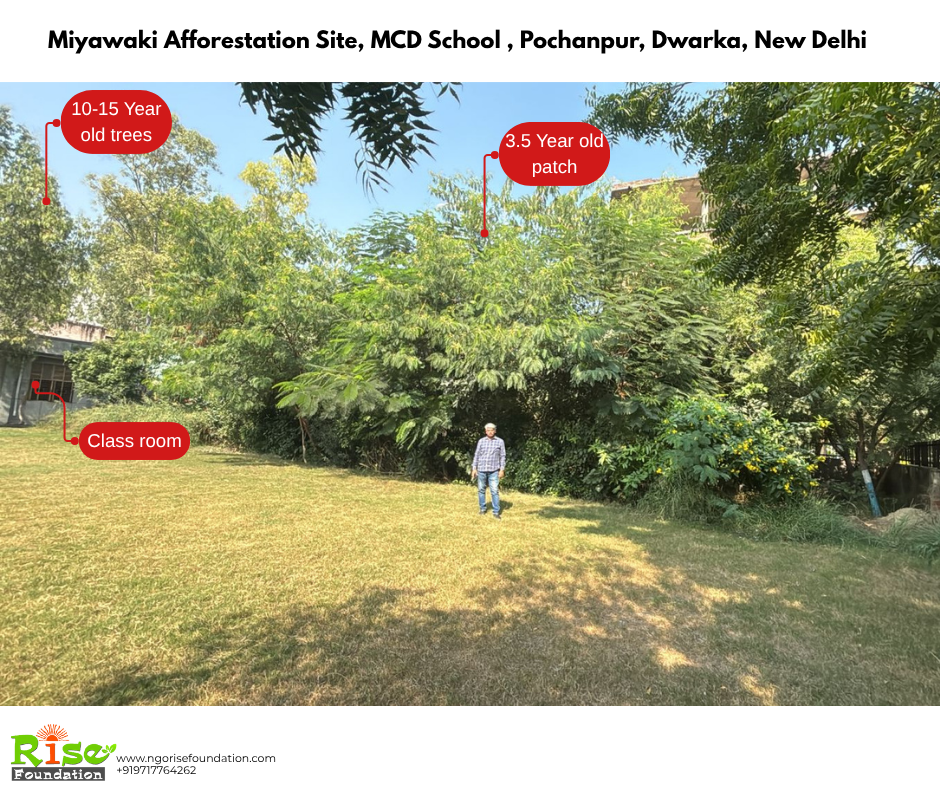
A 10-year-old Miyawaki forest should therefore not be compared with a 150-year-old natural forest.
What Happens Over Time?
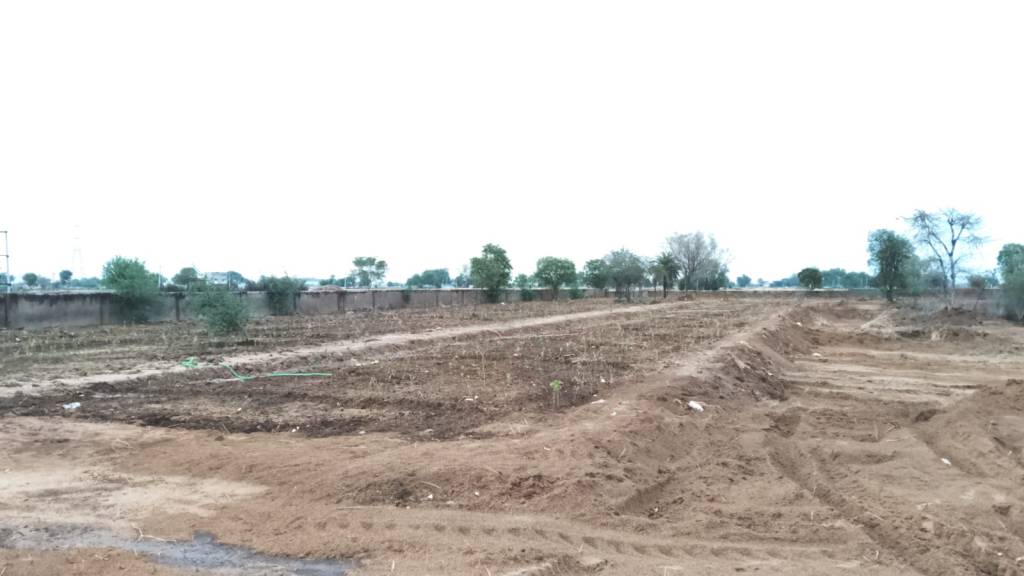
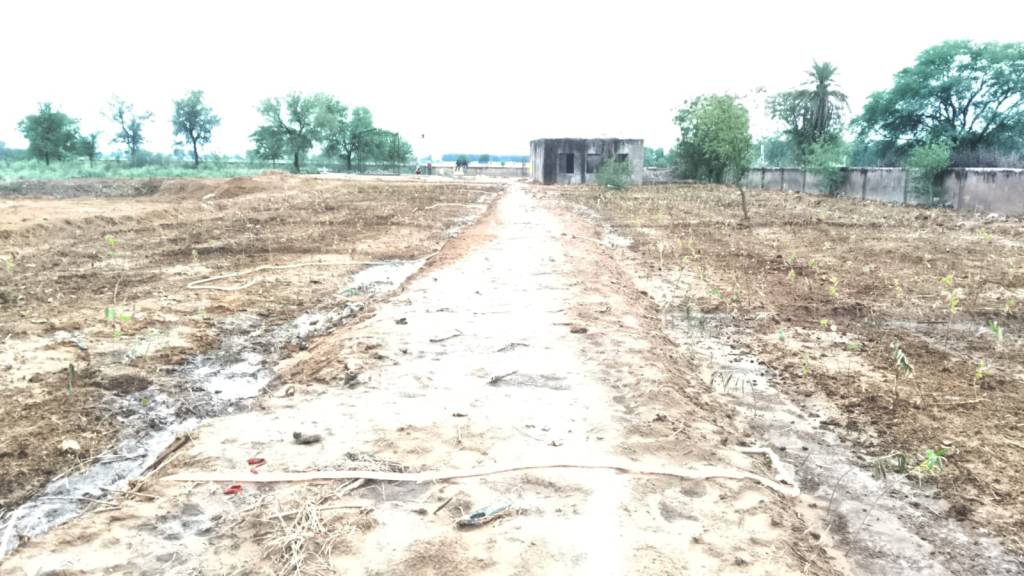
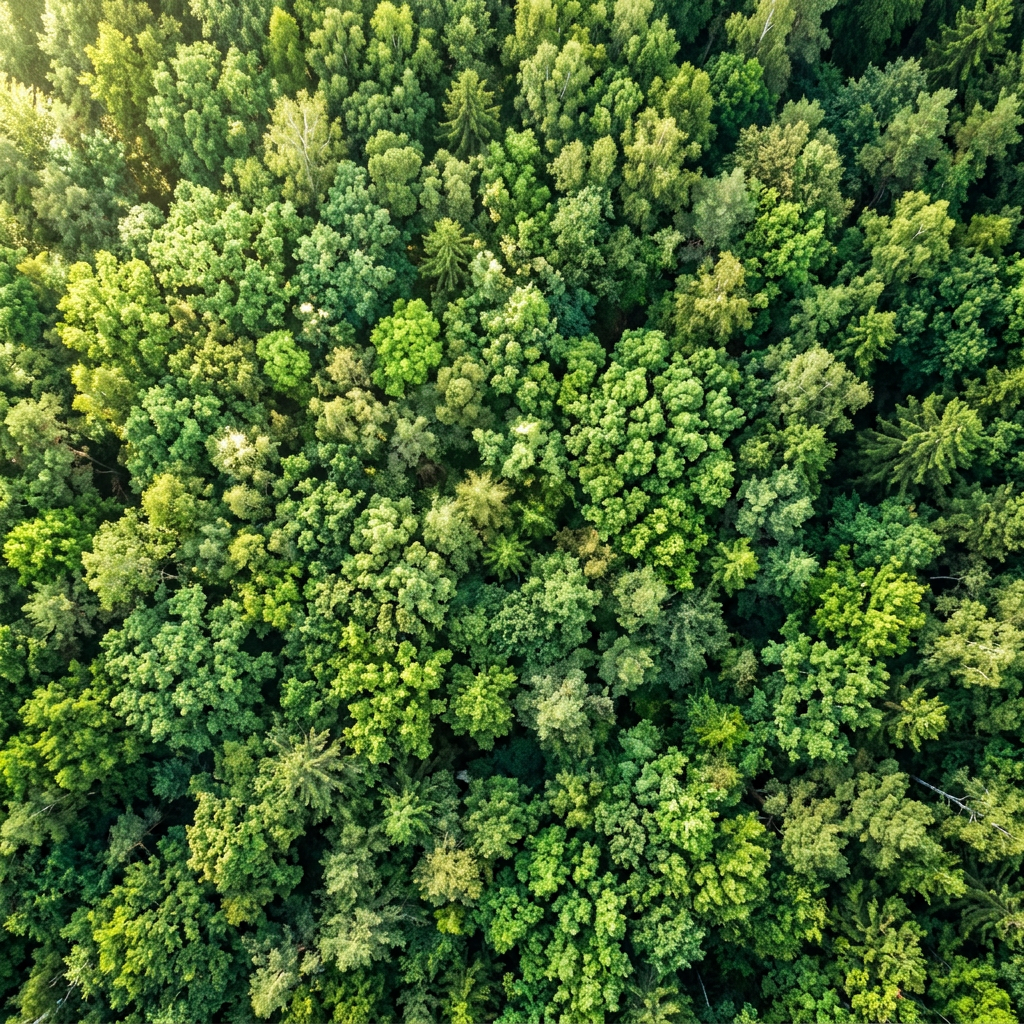
If left undisturbed, Miyawaki forests gradually become more natural.
Over 20–30 years:
- Competition reduces tree density through natural self-thinning.
- Crown clashes decrease as dominant trees establish themselves.
- Forest structure becomes more diverse.
- Soil health improves.
- Biodiversity increases.
- Ecological functions strengthen.
The forest begins to transition from an artificially dense plantation into a more stable ecosystem.
The Role of Miyawaki Forests in Urban Ecological Restoration
Urban areas face unique challenges including land degradation, pollution, habitat loss, and rising temperatures. Waiting decades for natural succession is often impractical in cities.
This is where Miyawaki afforestation excels.
Rather than being viewed as a perfect replica of a climax forest, Miyawaki forests should be recognized as powerful ecological restoration tools that rapidly bring nature back into degraded urban environments.
For cities such as Delhi, Gurugram, Faridabad, and Rishikesh, Miyawaki forests can:
- Improve air quality
- Reduce urban heat islands
- Support pollinators and birds
- Increase carbon sequestration
- Improve soil health and water retention
- Create green spaces for communities
The Way Forward
The future of urban forestry lies not in choosing between Miyawaki forests and natural forests, but in integrating the strengths of both approaches.
A modified Miyawaki model using native species, pollinator habitats, water-retention features, and long-term ecological monitoring can create resilient urban ecosystems while allowing natural forest processes to develop over time.
Crown clashing is not a failure of the forest. It is simply nature competing, adapting, and growing.
The true measure of success is not how neatly the trees are spaced, but how effectively the forest restores life to degraded land.